Install & connect
Reely is a macOS app that drives your local Xcode and iOS Simulators. Setup is two steps: install the app, then connect the agents you use.
Before you start
- A Mac with the Xcode 26 toolchain and iOS Simulators installed.
- At least one supported coding agent, installed and signed in.
- An active Reely subscription and the license key delivered after checkout.
1. Subscribe, install, and activate
Choose a plan on the Reely site. After checkout, the thank-you page delivers the Mac app and your license key. Drag Reely.app into Applications and launch it.
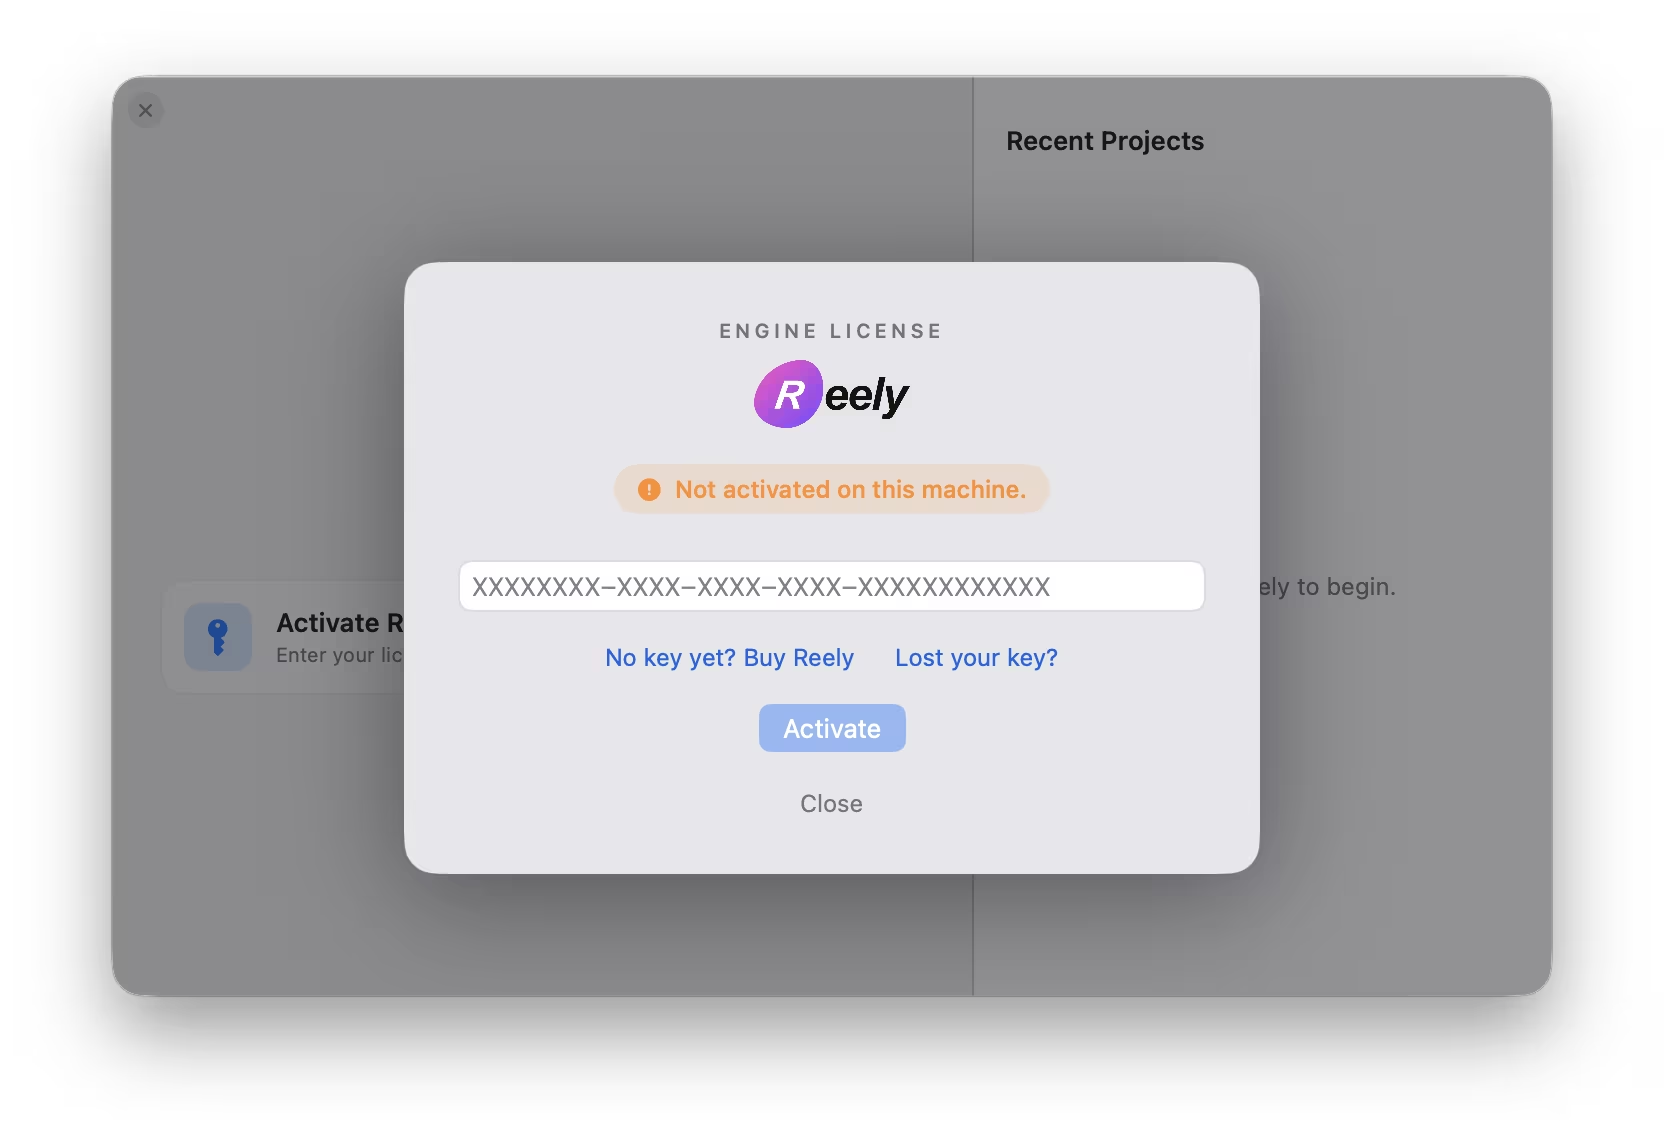
Click Activate Reely and paste the key from checkout. Reely requires an active license before it opens projects, installs the agent tools, records, renders, or exports.
2. Connect your agents
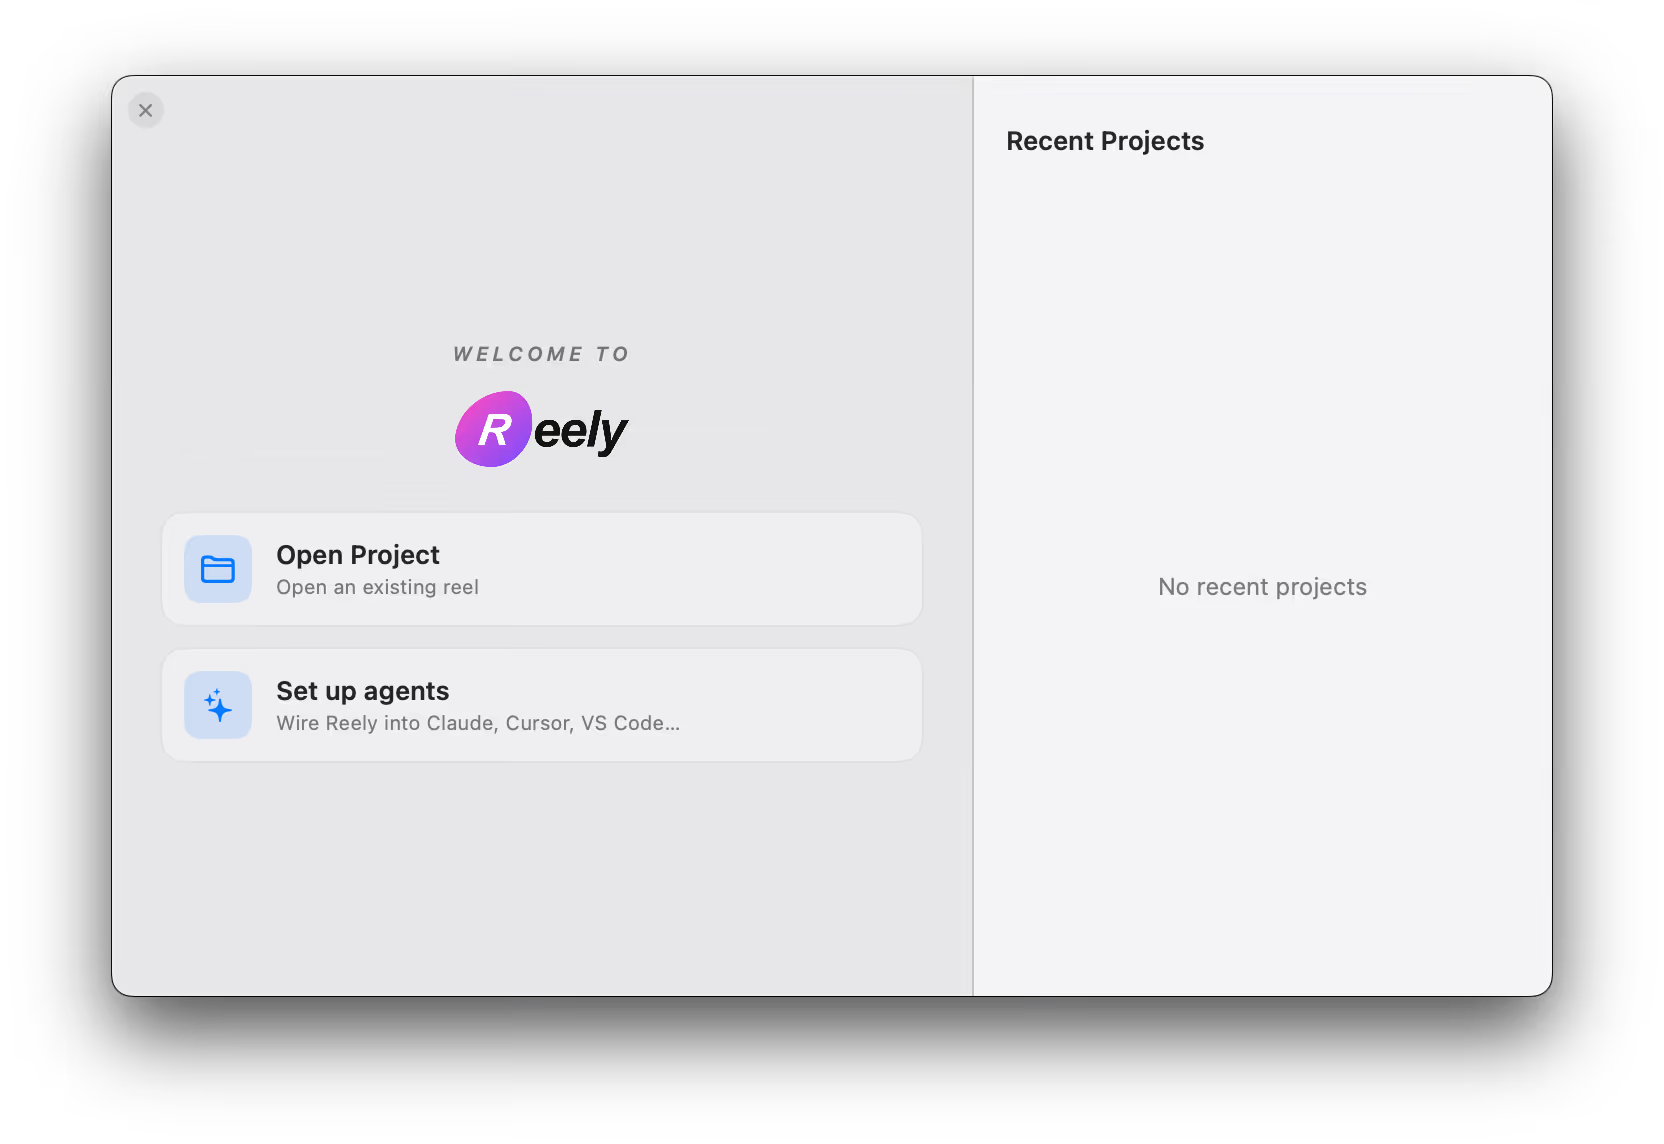
The welcome screen has a Set up agents card. One tap installs the video engine and wires it into every agent you pick — you never touch a config file or a terminal.
You will be asked for your password once, so the engine can be placed where your agents can reach it.
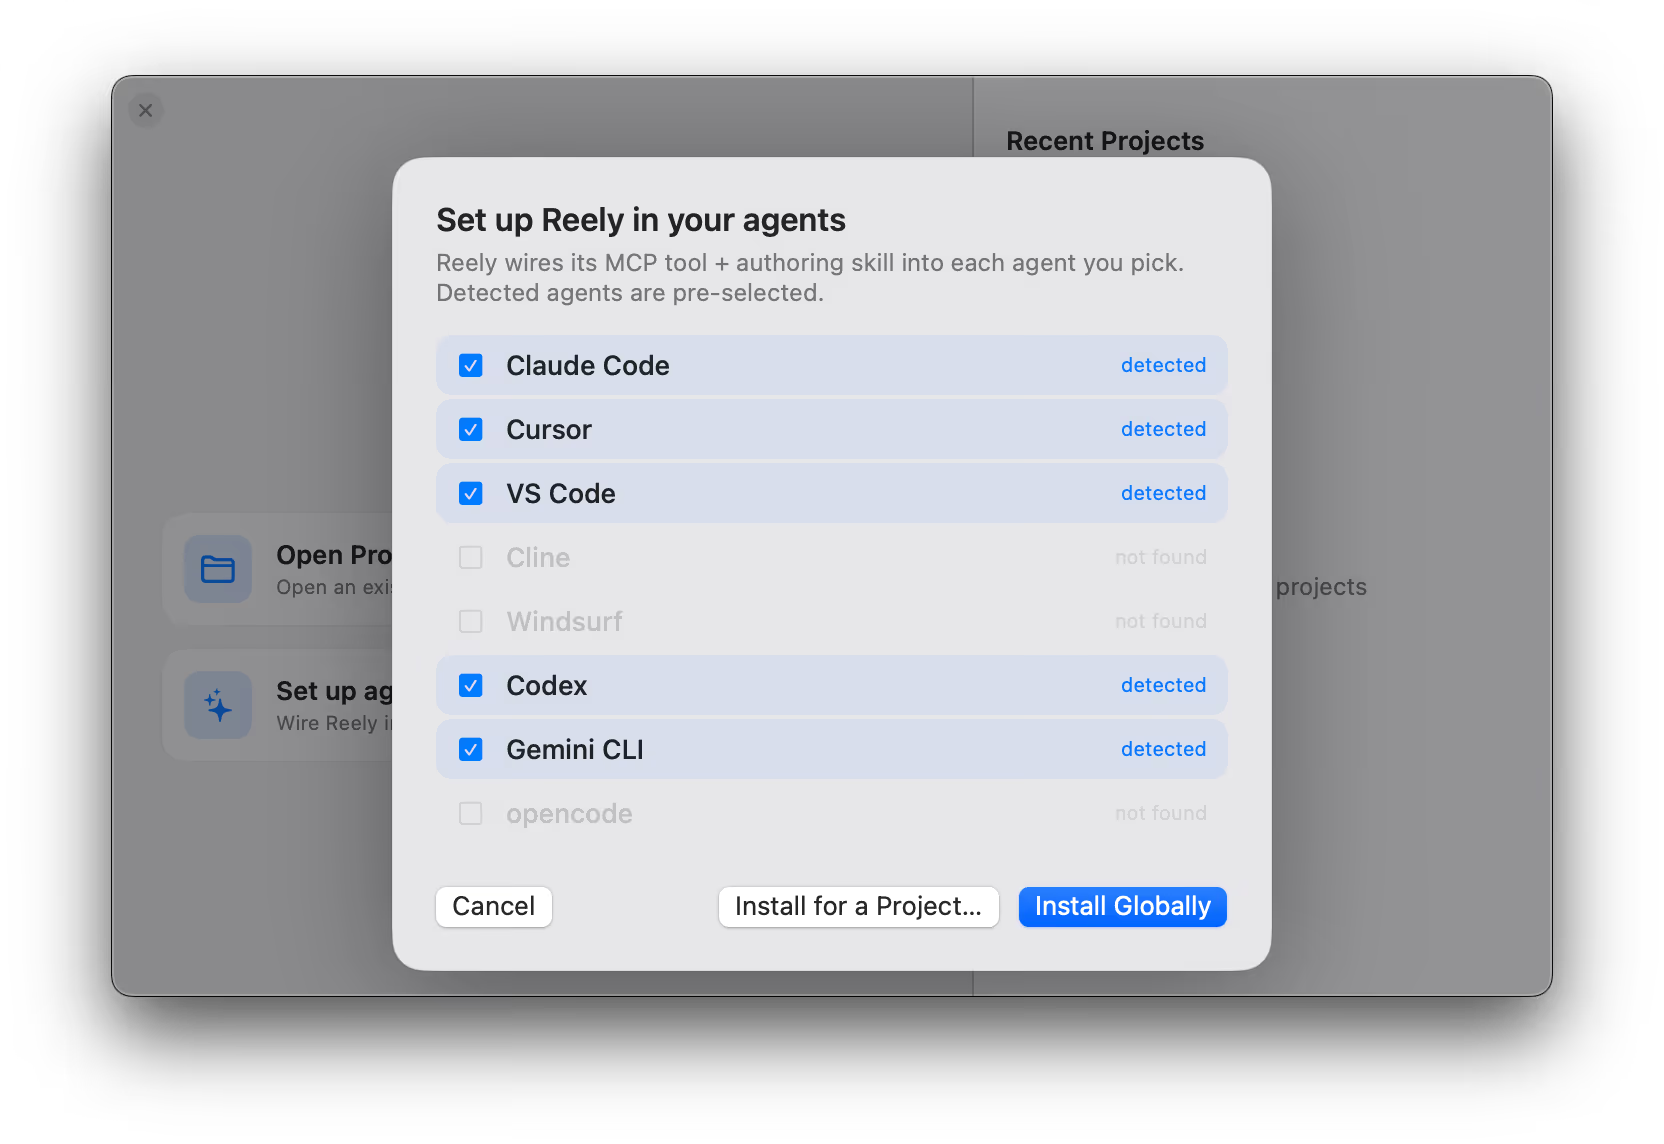
The picker lists every agent it finds on your Mac, with the detected ones pre-selected. Then choose a scope: Install Globally for every project, or Install for a Project… for a single repo.
Supported agents: Claude Code, Cursor, Codex, Windsurf, VS Code, Gemini CLI, Cline, and OpenCode.
| Scope | What it covers |
|---|---|
| Install Globally | Every project on this Mac. The engine goes on your PATH and each selected agent learns how to direct Reely. |
| Install for a Project… | One iOS project folder you pick. Same wiring, scoped to that repo — choose this if you would rather not touch your global agent config. |
All writes are non-destructive — any agents, tools, or permissions you already had are preserved.
3. Check it worked
Open an iOS project in your agent and ask for a video. If the agent starts asking you which iPhone to use, the wiring is live — that question only comes from Reely.
Nothing happens? See Troubleshooting.